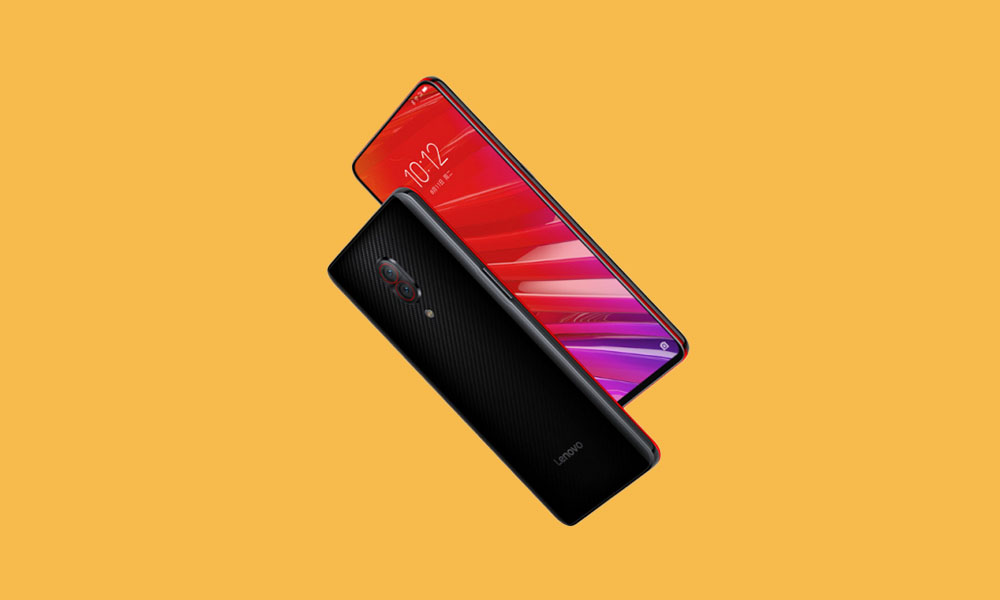
Lenovo Z5 Pro features a 6.39-inch touchscreen display with a resolution of 1080×2340 pixels. It is being powered by an octa-core Qualcomm Snapdragon 855 processor coupled with 6GB of RAM and 128 GB of onboard storage that can be expanded via microSD card (up to 256GB). Lenovo Z5 Pro GT sports a 16-megapixel primary camera and a second 24-megapixel camera on the rear side. On the front, Lenovo Z5 Pro GT has 16MP + 8MP dual camera set up. Lenovo Z5 Pro GT runs ZUI 10 based on Android 9.0 Pie and packs a 3350mAh non-removable battery. The device has received the official Android 10.0 update as well. You can find the Android 10 Firmware link down below.
The Advantages Of The Stock Flash File of Lenovo Z5 Pro
Flash Stock To Unbrick your Lenovo Z5 Pro Flash Stock ROM to Fix the bootloop problem. Upgrade and Downgrade Lenovo Z5 Pro Unroot or Fix Bugs on your phone. To fix the lag or stutter on Lenovo Z5 Pro Revert back to stock to gain your warranty.
[su_note note_color=”#c4ffd8″ radius=”2″]
Lenovo Z5 Pro Firmware Flash File Details:
Download Lenovo Z5 Pro Stock ROM
L78032_CN_SECURE_USER_Q00145.1_Q_ZUI_11.5.223: Download
(Android 10.0, 3.5 GB)
L78032_CN_SECURE_USER_Q00745.01_P_ZUI_10.5.304: Download
(Android 9.0 Pie, 3.1 GB)
Steps to Install Lenovo Z5 Pro Firmware (Unroot/Unbrick and Fix Bootloap)
There are loads of benefits of having the stock ROM of an Android device. You can Fix Bootloop and Black screen issue by flashing back the stock firmware. If you are facing some software related issues, then you can flash the stock ROM to fix that. You can Unbrick and unroot your device by flashing back the stock firmware which will give you your device’s warranty back.
Disclaimer:
RootMyGalaxy.net is not responsible for any damage happened to your device(s) while following this guide so please proceed at your own risk. However, we would be happy to help with any problems within our reach
Pre-Requirements:
Make sure the battery percentage is more than 60%. Download the QPST Tool. Install the Swipe Mobile Drivers on your PC. Install ADB & Fastboot drivers on your computer. Guide – Quickest Way To Install Android ADB and Fastboot (with drivers) on Windows or How to Install ADB and Fastboot on Mac or Linux Now, Enable the Developer option. Guide – How to Enable Developer Options & USB Debugging on Android Create a full backup on your device How to Backup Important Data On Android (Non-rooted users) Download and install the Android USB Driver on your PC.
You can either follow the QPST Tool method or QFIL Tool method in order to install the Stock ROM on your Lenovo Z5 Pro device.
Method -1: Using Stock Recovery
Guide: How to Install OTA Updates Zip File Via Stock Recovery
Method -2: Using QPST Tool
First of all, make sure you have followed each and every step mentioned in the pre-requisites section and download the QPST File.
After downloading, you will find two files Qualcomm_USB_Drivers_For_Windows.rar and QPST.WIN.2.7 Installer-00429.zip
Open the QPST Win folder then Install the QPST.exe on your windows Once it is installed, go to the Installed Location on the Main Drive (C) Open the QPST Configuration, Click on Add new port -> Select the com port of your device -> and close it After that Open the EMMC Software Downloader in the same folder located all the QPST Files In EMMC Software Downloader, Check program bootloaders -> Browse for the device com port Now Click Load XML Def and browse for rawprogram0.xml in folder ROM in EMMC Software Downloader (make sure you have extracted the ROM Zip file) Click On Load Patch def and browse for patch0.xml in folder ROM Check the search path 2 and browse for the folder ROM After all this click download, wait for the download to finish (it will find a new driver, install that) Now, wait for the process to finish. Once it is done, remove your device from PC and you have installed Stock ROM on Lenovo Z5 Pro.
Method -3: Using QFIL Tool
Step 1: Make sure that your PC has Qualcomm USB drivers installed on it. (If not download and install them, check pre-requirement section) Step 2: Download the Qualcomm Flash Image Loader (QFIL) on your computer and Extract that using any unzipper app like WinRAR. Step 3: Now go to the extracted folder and Open QFIL.exe.
Step 4: Once you enter the QFIL tool, you will see the basic user interface of the tool.
Step 5: Now, Switch Off your Smartphone or Tablet.
Step 6: After your Device is powered Off, Press and Hold Volume UP Key and Connect the Device to the Computer using USB Cable.
Step 7: Now, In QFIL, Click on Browse Button
Step 8: Now locate the Firmware File (.mbn).
Step 8: Once, you have added the firmware file, the QFIL tool will automatically load the rest of the firmware data. Step 9: Now, Click on the Download button to begin the Flashing Process.
Step 10: Like all other devices and tools, this flashing Process will take up to 10-15 minutes to complete. Once the Flashing process is completed your device will be reboot automatically. So that’s it for the guide. Here we have mentioned all the possible methods to flash the official firmware flash file on Lenovo Z5 Pro. If you have any questions or suggestions, feel free to leave those in the comment section down below.