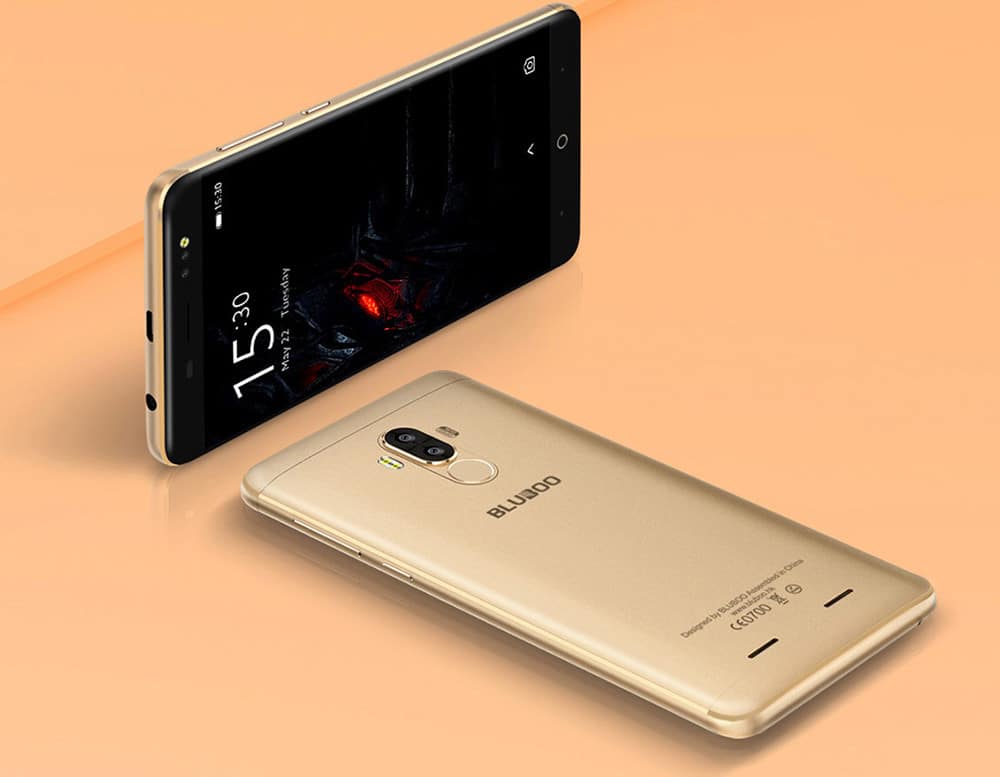
Now, there are many advantages of a phone like the Bluboo D1 which has an openable bootloader which means that the smartphone can be rooted easily and the TWRP recovery or any custom recovery can be installed on your phone. Now, we have attached a method below so that you can install TWRP recovery on your smartphone. Also, if you install TWRP recovery on your smartphone then you can also root your smartphone and then you can install any other ROM as well. Now, you should follow this guide properly for a successful installation of recovery on your phone. [su_heading size=”18″ align=”left” class=”Bold”]Related Posts[/su_heading]
Full List of devices which have received Lineage OS 14/14.1 (Download) [LineageOS 15] Official Lineage OS 15.0 Device List (Android 8.0) Android Oreo Device List- List of the devices which will get official Android 8.0 update Download Magisk v14.0 and Magisk Manager v5.3.0 (Oreo Root) FlashFire v0.70 is available for download with support for Android 8.0 Oreo
DISCLAIMER
RootMyGalaxy.net is not responsible for any damage happened to your device(s) while following this guide so please proceed at your own risk. However, we would be happy to help about any problems within our reach
Pre-Requirements:
Make sure the bootloader on your device is unlocked and your device is rooted and you have a custom recovery installed. Make sure your device has more than 50% battery.
Downloads
Download TWRP recovery zip file for Bluboo D1 – Download
Steps To Install TWRP Recovery On Bluboo D1
First of all, make sure you have followed each and every step mentioned in the pre-requisites section After that, you have to download the files mentioned in the Downloads section and transfer them to your Bluboo D1 Once transferred, follow this guide from below to install TWRP recovery on your Bluboo D1. (Same as flashing the stock ROM)
Note: Find the Scatter File from the downloaded TWRP zip file, which you have downloaded. Rename the TWRP (.img) file to recovery.img. Now, on the flash tool interface, navigate and select the scatter file and At this stage, just leave the recovery as ticket/ checked. Now, at the location tab, click on the storage location field of the recovery and search and browse for the custom recovery image file which is device-specific [su_button url=”https://rootmygalaxy.net/flash-mediatek-stock-roms-sp-flash-tool-mtk-android-smartphones/” target=”blank” style=”flat” background=”#000000″ color=”#ffffff” size=”5″ wide=”yes” center=”yes” radius=”5″ icon=”icon: external-link-square” icon_color=”#aaf4a7″ text_shadow=”0px 0px 0px #010c16″]How to Flash TWRP With SP Flash Tool [/su_button]
How To Root Bluboo D1 By Flashing SuperSu
Download the latest SuperSU by Chainfire from here Move it your device’s storage Now follow the guide given below to flash it via TWRP recovery to get root access on your device
[su_button url=”https://rootmygalaxy.net/flash-supersu-using-twrp-recovery-root-any-android-device/” target=”blank” style=”flat” background=”#000000″ color=”#ffffff” size=”5″ wide=”yes” center=”yes” radius=”5″ icon=”icon: external-link-square” icon_color=”#aaf4a7″ text_shadow=”0px 0px 0px #010c16″]How To Flash SuperSU using TWRP Recovery & Root Any Android device[/su_button]
Once, flashing is done, reboot your device and your device should be rooted
